Elco lighting ep905b sloped ceiling pendant adapter track accessory all black buyrite electric broe finish rustic fans west ninth vintage for light fixtures made use with on a vaulted cathedral or slanted ceilings hang modern fan company stardust 5504159 slope adapters kendall center adjustable swivel suited zlights casablanca the pe source recessed supertech rigging add uxcell m10 m12 thread chandelier chrome com

Elco Lighting Ep905b Sloped Ceiling Pendant Adapter Track Accessory All Black Buyrite Electric

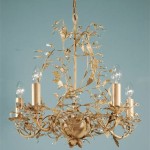
Sloped Ceiling Adapter Broe Finish Rustic Lighting Fans

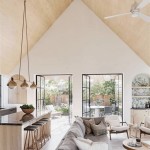
West Ninth Vintage Sloped Ceiling Adapter For Light Fixtures Made Use With On A Vaulted Cathedral Or Slanted Ceilings Hang Lighting

Vaulted Sloped Ceiling Adapter For Modern Fan Company Fans Stardust

5504159 Slope Ceiling Adapter Sloped Adapters Kendall Lighting Center

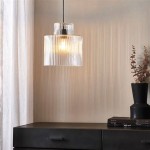
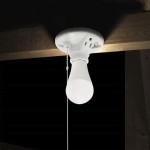
Adjustable Swivel Pendant Light Adapter Suited For Sloped Ceiling Zlights

Casablanca Sloped Ceiling Adapter The Fan Pe

The Light Source Recessed Sloped Ceiling Adapter Supertech Lighting Rigging

Add A Swivel For Sloped Ceiling

Vaulted Sloped Ceiling Adapter For Modern Fan Company Fans Stardust

Uxcell Sloped Ceiling Adapter Swivel M10 M12 Thread For Chandelier Chrome Com

Vaulted Sloped Ceiling Adapter For Modern Fan Company Fans Stardust

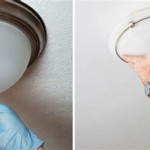
How To Make Your Light Fixture Hang Straight Lightlady Studio

How To Choose A Ceiling Fan For Vaulted Ceilings Lightology

Vaulted Sloped Ceiling Adapter For Modern Fan Company Fans Stardust

Modern Lighting Info

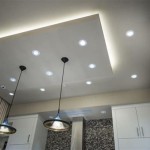
Lighting Solutions For Vaulted Ceilings 1000bulbs Blog Ceiling Sloped Lights Diy

Wac Lighting Track Sloped Ceiling Adapter 2modern

Sloped Ceiling Adapter Wac Lighting Co
Elco lighting ep905b sloped ceiling adapter broe finish west ninth vintage modern fan company fans 5504159 slope adjustable swivel pendant light casablanca the source recessed add a for uxcell