10 of the best vaulted ceiling lighting ideas lightopia what s for ceilings amanda katherine large chandelier or high living room modern chandeliers soho blog ellen grasso creates elegant interior stately dallas home design luxury beautiful rooms image result solutions on sloped lights creative can you put recessed into a alternatives how to light quick guide cabin style with brass country

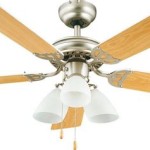
10 Of The Best Vaulted Ceiling Lighting Ideas Lightopia

What S The Best Lighting For Vaulted Ceilings Amanda Katherine

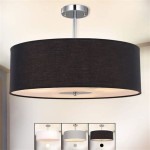
Large Chandelier Lighting For Vaulted Ceiling Or High Living Room Modern Chandeliers

Lighting Ideas For Vaulted Ceiling Soho Blog

Ellen Grasso Creates Elegant Interior For Stately Dallas Home Living Room Design Luxury Beautiful Rooms

Image Result For Lighting Solutions On Sloped Ceiling Lights Living Room Vaulted

Vaulted Ceiling Lighting Ideas Creative Solutions

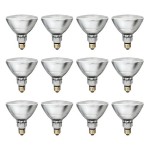
Can You Put Recessed Lights Into A Vaulted Ceiling Alternatives

10 Of The Best Vaulted Ceiling Lighting Ideas Lightopia

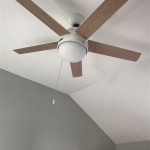
How To Light A Vaulted Ceiling Quick Guide

Cabin Style Vaulted Ceiling With Brass Lights Country Living Room

I Like The Vaulted Ceiling Lighting Windows Are Wonderful But Would Be Tough To Cov Lights Living Room Cathedral Great Rooms

Vaulted Ceilings Ideas That Take Rooms To New Heights Architectural Digest

A Guide Of Vaulted Ceiling Recessed Lighting Placement Recessedlightspro

Vaulted Ceiling Lighting Ideas

Recessed Lighting For Vaulted Ceilings Family Room Corner Sofa Fireplace Ceiling Living Design

The Ultimate Guide To Vaulted Ceilings Pros Cons And Inspiration

25 Vaulted Ceiling Ideas With Pros And Cons Digsdigs

Vaulted Ceiling Lighting Ideas

10 Of The Best Vaulted Ceiling Lighting Ideas Lightopia
Vaulted ceiling lighting ideas best for ceilings ellen grasso creates elegant interior can you put recessed lights into a how to light quick cabin style with brass