Matching ceiling fan and lighting fixtures for 2022 spring hunter what to consider when purchasing a fat s vintage close pendants pendant installation gives this modern kitchen new twist in rn lights industrial farmhouse inspiration barn light electric

Matching Ceiling Fan And Lighting Fixtures For 2022 Spring Hunter

Matching Ceiling Fan And Lighting Fixtures For 2022 Spring Hunter

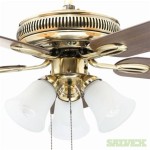
What To Consider When Purchasing A Ceiling Fan Fat S Vintage

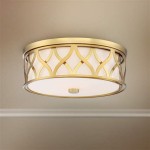
Fan Close To Pendants

Fan Close To Pendants

Matching Ceiling Fan And Lighting Fixtures For 2022 Spring Hunter

Matching Ceiling Fan And Lighting Fixtures For 2022 Spring Hunter
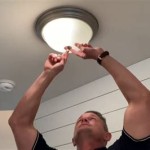
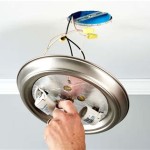
4.jpg?strip=all "Ceiling Fan Pendant Installation")
Ceiling Fan Pendant Installation

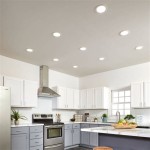
Pendant Lighting Gives This Modern Kitchen A New Twist Ceiling Fan In

Matching Ceiling Fan And Lighting Fixtures For 2022 Spring Hunter

Rn Pendant Lights Industrial Ceiling Fan For Farmhouse Inspiration Barn Light Electric

Matching Ceiling Fan And Lighting Fixtures For 2022 Spring Hunter

How To Pick The Perfect Chandelier Ceiling Fan For Your Living Room

Elegant Pendant Light With Ceiling Fan Lixra Com

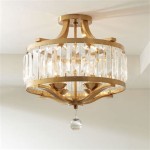
Modern Luxurious Invisible Crystal Ceiling Fan Light With Fancy

Living Room Hanging Lights Fixture For Your Home Design Cafe

How Interior Designers Use An Industrial Brass Ceiling Fan To Set The Arranmore Lighting Fans

Dining Room Ceiling Lights For Your Home Design Cafe

Pin On House

42 36 Inches Crystal Ceiling Fan Silver Chandeli Urbanest
Matching ceiling fan and lighting purchasing a close to pendants pendant installation modern kitchen rn lights industrial