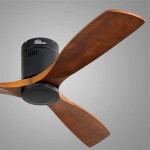
How To Convert Ceiling Light Fan
Converting a ceiling light fan can be a straightforward and cost-effective way to enhance your home's lighting and ventilation systems. Whether you're replacing an old light fixture with a fan or want to add a new one to a room that lacks air circulation, this guide will provide the essential steps you need to know.Safety Precautions
Before attempting any electrical work, it's crucial to take appropriate safety precautions to prevent accidents or injuries. Turn off the power to the circuit connected to the ceiling light fan at the circuit breaker panel. Use a voltage tester to confirm there's no electricity before touching any wires. Wear safety glasses and gloves for added protection.Tools and Materials
To convert your ceiling light fan, you'll need the following tools and materials: * Ceiling fan * Screwdriver (Phillips and flathead) * Wire strippers * Electrical tape * Voltage tester * LadderStep-by-Step Instructions
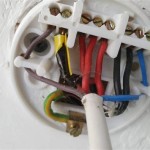
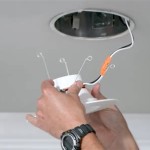
1. Remove the Existing Light Fixture: Turn off the power and use a ladder to access the ceiling light fixture. Remove the screws holding the light fixture to the ceiling and carefully detach it from the electrical wires. 2. Prepare the Electrical Wires: Strip about 1/2 inch of insulation from the ends of the electrical wires using wire strippers. Twist the exposed copper wires together tightly for each wire color (black, white, and ground). 3. Connect the Fan Wires: Match the fan's wire colors to the corresponding electrical wires. Connect the black wire from the fan to the black wire from the ceiling, the white wire from the fan to the white wire from the ceiling, and the green or bare copper ground wire from the fan to the ground wire from the ceiling. Secure the connections with wire nuts and wrap electrical tape around them for insulation. 4. Mount the Fan Bracket: Align the fan bracket with the electrical box on the ceiling and secure it using the screws provided in the fan kit. Make sure the bracket is level and stable. 5. Install the Fan: Carefully lift the fan unit and fit it onto the bracket. Tighten the screws to secure the fan in place. 6. Connect the Blades: Locate the fan blades and attach them to the fan motor using the screws or bolts provided. Make sure the blades are securely fastened. 7. Test the Fan: Turn the power back on at the circuit breaker panel and operate the fan. Check that it runs smoothly and there are no unusual noises or vibrations.Conclusion
Converting a ceiling light fan can be a rewarding DIY project that improves the comfort and functionality of your home. By following these essential aspects and taking the necessary safety precautions, you can confidently complete this task and enjoy the benefits of a ceiling fan with both illumination and ventilation capabilities.
How To Replace A Ceiling Fan With Pendant Light

Replacing A Ceiling Fan Light With Regular Fixture Jlc
Replacing A Ceiling Fan Light With Regular Fixture Jlc

How To Add A Light Kit Your Ceiling Fan Mr Electric

How To Convert Your Fans Smart 11 Steps With Pictures

How To Wire A Ceiling Fan Control Using Dimmer Switch

Convert Recessed Light To Ceiling Fan Thecanconverter

Rewire A Switch That Controls An To Control Overhead Light Or Fan

2 Function Switch For Ceiling Fan And Light Devices Integrations Smartthings Community

Upgrade Your Airflow 3 Ways To Smarten Ceiling Fans Wirecutter
Related Posts

