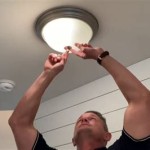
4 ways to replace a light bulb in ceiling fan wikihow how with pendant replacing regular fixture jlc step by remove dome globe glass replacement on hampton bay windward ii kit smafan com install ifixit repair guide

4 Ways To Replace A Light Bulb In Ceiling Fan Wikihow

4 Ways To Replace A Light Bulb In Ceiling Fan Wikihow

How To Replace A Ceiling Fan With Pendant Light

Replacing A Ceiling Fan Light With Regular Fixture Jlc

How To Replace A Ceiling Fan With Light Step By

4 Ways To Replace A Light Bulb In Ceiling Fan Wikihow

How To Replace A Ceiling Fan With Pendant Light

How To Remove Dome Globe Glass Light Replacement On Hampton Bay Ceiling Fan Windward Ii

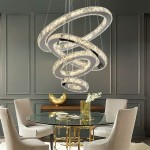
How To Replace A Ceiling Fan Light Kit Smafan Com

How To Replace A Light With Ceiling Fan Install Step By

Ceiling Fan Light Fixture Replacement Ifixit Repair Guide

4 Ways To Replace A Light Bulb In Ceiling Fan Wikihow

Ceiling Fan Glass Cover Removal Light Bulb Dome

4 Ways To Replace A Light Bulb In Ceiling Fan Wikihow

How To Replace A Light Fixture With Ceiling Fan Projects By Peter

How To Replace A Ceiling Fan Diy Step By Guide

How Do I Change This Lightbulb Bunnings Work Community

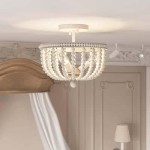
Replacing The Light On A Ceiling Fan Universal Fans

How To Change Light For Ceiling Fan

Wiring A Ceiling Fan And Light With Diagrams Ptr
Replace a light bulb in ceiling fan with pendant replacing hampton bay windward ii how to kit install fixture replacement