Making a ceiling light with diffuser from lamp shade young house love 23 gorgeous diy fixtures that anyone can make how to install vintage fixture simple decorating tips lighting diys i d actually pay good money for plaster disaster pendant modern lights by home repair tutor upcycling an adjustable pulley the reaganskopp homestead condo blues mini makeover and friday favorites week 526 your own unique 16 ideas you bob vila update every er will be glad know

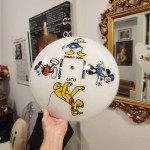
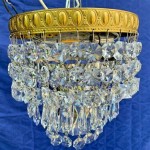
Making A Ceiling Light With Diffuser From Lamp Shade Young House Love

23 Gorgeous Diy Light Fixtures That Anyone Can Make

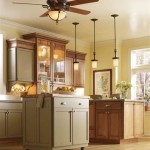
How To Install A Vintage Ceiling Light Fixture Simple Decorating Tips

Lighting Diys I D Actually Pay Good Money For Plaster Disaster

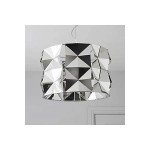
Diy Pendant Light

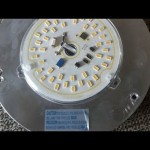
Modern Ceiling Lights How To Install By Home Repair Tutor

Upcycling To Make An Adjustable Diy Pulley Light Fixture The Reaganskopp Homestead

Condo Blues Mini Diy Ceiling Light Makeover And Friday Favorites Week 526

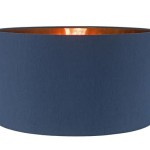
Diy Light Fixtures How To Make Your Own Unique Lighting

16 Diy Light Fixture Ideas You Can Make For Bob Vila

Ceiling Light Update Diy Every Er Will Be Glad To Know

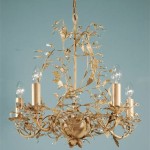
The Most Gorgeous Diy Chandelier Love Renovations

Diy Farmhouse Wood Beam Chandelier Twofeetfirst

16 Diy Light Fixture Ideas You Can Make For Bob Vila

34 Creative Diy Lighting Ideas That You Can Make At Home

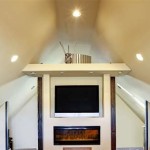
How To Install Your Own Light Fixture The Happy Housie

How To Install A Vintage Ceiling Light Fixture Simple Decorating Tips

Diy Mason Jar Pendant Light Upcycle An Old Vanity Strip In Easy Steps

How To Install A Ceiling Light Fixture 7 Easy Steps Diy

Making A Ceiling Light With Diffuser From Lamp Shade Young House Love
Making a ceiling light with diffuser 23 gorgeous diy fixtures that vintage fixture lighting diys i d actually pay good pendant modern lights how to install adjustable pulley mini makeover make your 16 ideas you can update every er