How to Add a Light to an Existing Ceiling Fan
Ceiling fans are a great way to keep your home cool and comfortable, but they can also be a bit boring. If you're looking for a way to add some style and personality to your ceiling fan, adding a light is a great option. Here's a step-by-step guide on how to do it yourself.
Step 1: Gather your materials
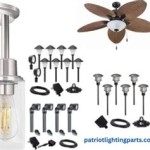
You will need the following materials to add a light to your ceiling fan:
- A light kit that is compatible with your ceiling fan
- A drill
- A screwdriver
- Wire nuts
- Electrical tape
Step 2: Turn off the power
Before you start working on your ceiling fan, it is important to turn off the power at the circuit breaker. This will prevent you from getting shocked.
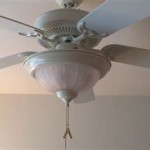
Step 3: Remove the old light cover
Once the power is off, you can remove the old light cover from your ceiling fan. This is usually done by unscrewing a few screws.
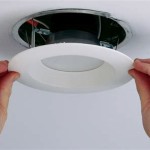
Step 4: Install the new light kit
Now you can install the new light kit. This is usually done by following the instructions that came with the kit. Be sure to connect the wires correctly, using wire nuts and electrical tape.
Step 5: Turn on the power
Once the light kit is installed, you can turn on the power and test the light. If the light is not working, check to make sure that the wires are connected correctly.
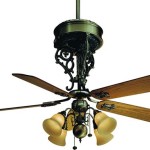
Step 6: Enjoy your new light!
Now that you have added a light to your ceiling fan, you can enjoy the extra light and style. This is a great way to update your ceiling fan without having to replace it.

How To Install A Light On Ceiling Fan 11 Steps

How To Install A Light On Ceiling Fan 11 Steps

Replacing A Ceiling Fan Light With Regular Fixture Jlc

Wiring A Ceiling Fan And Light With Diagrams Ptr

Ceiling Fan Light Kit Installation How To

Replacing A Ceiling Fan Light With Regular Fixture Jlc

Add A New Light Fixture Wiring Diagrams Do It Yourself Help Com

Average Ceiling Fan Installation Cost 2024 Forbes Home

How To For A Ceiling Fan Reviews By Wirecutter

How To For A Ceiling Fan Reviews By Wirecutter
Related Posts