Ceiling fan pull chain came out doityourself com community forums fix a snapped at no cost how to home electrical repairs replace mounted light fixture repair change broken cord lamp tutor switch sd control casablanca 4 ways pulls in minutes white and black wires with wiring diagrams ptr

Ceiling Fan Pull Chain Came Out Doityourself Com Community Forums

Fix A Snapped Fan Pull Chain At No Cost How To

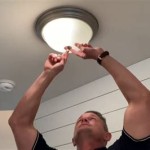
Home Electrical Repairs How To Replace A Ceiling Mounted Pull Chain Light Fixture

How To Repair A Pull Chain Light Fixture Change Broken Cord Lamp

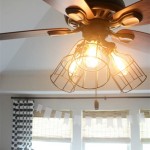
Ceiling Fan Light Repair Home Tutor

How To Change A Ceiling Fan Pull Chain Switch

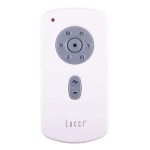
Pull Chain Sd Control Casablanca Fan Repair

4 Ways To Replace A Ceiling Fan Pull Chain Switch Pulls

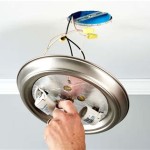
Replace Pull Chain Light Fixture 4 In Minutes White And Black Wires

How To Fix A Ceiling Fan Pull Switch With Light Pulls

Wiring A Ceiling Fan And Light With Diagrams Ptr

New Ceiling Fan Switch With Fix Pull Chain Problem Home And Garden Life

How To Repair A Pull Chain Light Fixture Change Broken Cord Lamp

How To Fix Replace A Ceiling Fan Pull Chain Switch

How To Fix A Pull Chain For Light When It Is Stuck Ehow

How To Replace A Pull Chain Light Fixture Diy Family Handyman

How To Fix Pull Chain For Ceiling Fan Light

Wiring A Ceiling Fan And Light With Diagrams Ptr

How To Replace Install A Light Fixture The Art Of Manliness
Ceiling fan pull chain came out fix a snapped at no cost light fixture repair home switch sd control casablanca replace 4 in how to wiring and with