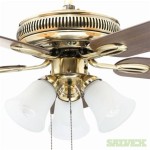
Home electrical repairs how to replace a ceiling mounted pull chain light fixture install diy family handyman repair mounting fixtures fine homebuilding improvement the art of manliness replacing fan with regular jlc solving 5 common problems

Home Electrical Repairs How To Replace A Ceiling Mounted Pull Chain Light Fixture

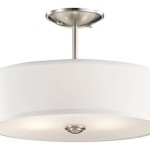
How To Install A Ceiling Light Fixture Diy Family Handyman

Repair A Light Fixture Diy Family Handyman

Mounting Light Fixtures Fine Homebuilding

How To Install A Ceiling Light Fixture Diy Family Handyman

How To Install A Light Fixture Diy Home Improvement

How To Replace Install A Light Fixture The Art Of Manliness

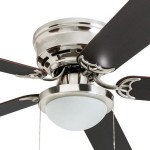
Replacing A Ceiling Fan Light With Regular Fixture Jlc

How To Replace Install A Light Fixture The Art Of Manliness

Solving 5 Common Light Fixture Problems

How To Install A Ceiling Light Fixture Diy Family Handyman

How To Wire A Light Bulb Socket The Ceiling

How To Replace Install A Light Fixture The Art Of Manliness

How To Install Ceiling Light Fixtures Ehow

How To Install A Ceiling Light Fixture Diy Family Handyman

Replacing A Ceiling Fan Light With Regular Fixture Jlc

How To Replace Install A Light Fixture The Art Of Manliness

Broken Exterior Light Socket Secret Replace Repair Fix

How To Replace A Light Fixture Planitdiy

Advice On Ceiling Light Wiring English Forum Switzerland
Pull chain light fixture how to install a ceiling repair diy family mounting fixtures fine homebuilding replace replacing fan with solving 5 common problems
Related Posts