Wiring a ceiling fan and light with diagrams ptr kit installation how to install shockley electric the for hampton bay fans lighting diagram ceilingfanslight remotecontrolceilingfans bladelessceilingfan kidsceilingfan switch

Wiring A Ceiling Fan And Light With Diagrams Ptr

Wiring A Ceiling Fan And Light With Diagrams Ptr

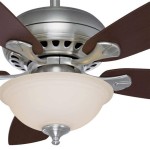
Ceiling Fan Light Kit Installation How To

Wiring A Ceiling Fan And Light With Diagrams Ptr

How To Install A Ceiling Fan Light Kit Shockley Electric

How To Install A Ceiling Fan Wiring The Light Kit For Installation

How To Install A Ceiling Fan Light Kit

Wiring A Ceiling Fan And Light With Diagrams Ptr

How To Install A Hampton Bay Ceiling Fan Light Kit Fans Lighting

Wiring A Ceiling Fan And Light With Diagrams Ptr

Wiring Diagram For Ceilingfanslight Remotecontrolceilingfans Bladelessceilingfan Kidsceilingfan Ceiling Fan Light Kit Switch

Replace A Light Fixture With Ceiling Fan Electrical Wiring Home

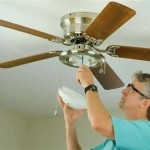
How To Add A Light Kit Your Ceiling Fan Mr Electric

How To Install A Ceiling Fan With Light Girl S Guide Home Diy

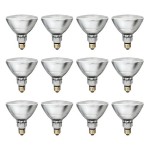
How To Replace A Ceiling Fan Light Kit Smafan Com

How To Install The Hampton Bay 4 Light Universal Ceiling Fan Kit

Ceiling Fan Light Kit Installation How To

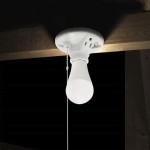
How To Install A Ceiling Fan Preparing Light Kit For Installation

Ceiling Fan Light Repair Home Tutor

How To Install A Ceiling Fan With Light Girl S Guide Home Diy
Wiring a ceiling fan and light with kit installation how to install for hampton bay