How to remove and replace a recessed led ceiling light install fixture the art of manliness with no visible s modern lights by home repair tutor change making maanita dome lightbulb on less glass cover lamp shaped un get off bulb quora genius way handle fixtures when painting your removing pendant doityourself com community forums

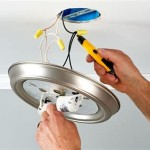
How To Remove And Replace A Recessed Led Ceiling Light

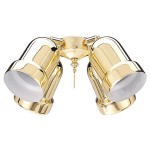
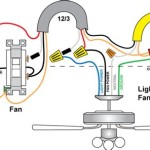
How To Replace Install A Light Fixture The Art Of Manliness

How To Remove A Light Fixture With No Visible S

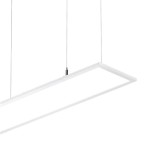
Modern Ceiling Lights How To Install By Home Repair Tutor

How To Replace A Ceiling Light Home

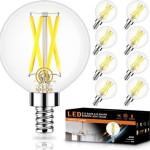
How To Change A Ceiling Light Making Maanita

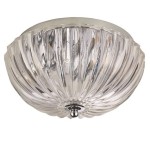
How To Remove A Dome Ceiling Light Change Lightbulb On Less Glass Cover Lamp Fixture

How To Remove A Dome Shaped Glass Ceiling Light Fixture

How To Un Get Off A Ceiling Light Glass Dome Change The Bulb Quora

The Genius Way To Handle Light Fixtures When Painting Your Ceiling

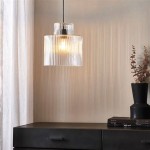
Removing Pendant Light Doityourself Com Community Forums

How To Remove A Dome Ceiling Light Change Lightbulb On Less Glass Cover Lamp Fixture

How To Replace A Ceiling Light Fixture Dengarden

How To Remove Light Bulb Bunnings Work Community

How To Remove A Light Fixture Fixtures

How To Remove Ceiling Light Fixture Doityourself Com Community Forums

How To Remove Flush Mount Ceiling Fixture

How Do I Replace The Bulb In This Enclosed Bathroom Ceiling Light Hometalk

Replacing Flush Mount Light With Pendant

How To Remove A Light Fixture 2 Best Ways
Recessed led ceiling light replace install a fixture with no visible s modern lights how to home change making remove dome shaped glass fixtures when painting your removing pendant doityourself
Related Posts