How to install an electrical ceiling box for a light fixture remove plastic junction and fan brace tips on removing existing fluorescent kitchen the kim six fix mounting fixtures fine homebuilding replace dengarden with projects by peter old young house love

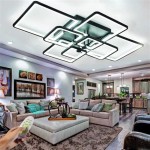
How To Install An Electrical Ceiling Box For A Light Fixture

How To Install An Electrical Ceiling Box For A Light Fixture

Remove Plastic Electrical Junction Box And Install A Ceiling Fan Brace

Tips On Removing An Existing Light Fixture Junction Box

Removing A Fluorescent Kitchen Light Box The Kim Six Fix

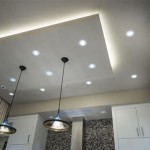
Mounting Light Fixtures Fine Homebuilding

Removing A Fluorescent Kitchen Light Box The Kim Six Fix

How To Replace A Ceiling Light Fixture Dengarden
How To Replace A Light Fixture With Ceiling Fan Projects By Peter

How To Replace An Old Fluorescent Light Fixture Young House Love

How To Replace An Old Fluorescent Light Fixture Young House Love

How To Install A Ceiling Light Fixture Diy Family Handyman

Replacing Fluorescent Light Boxes In Your Kitchen My Design Rules

How To Install A Ceiling Light Fixture Diy Family Handyman

How To Replace A Ceiling Fan With Pendant Light Our Fifth House

Modern Ceiling Lights How To Install By Home Repair Tutor

How To Replace An Old Fluorescent Light Fixture Young House Love

How To Replace An Old Fluorescent Light Fixture Young House Love

How To Remove Fluorescent Ceiling Light Box Kitchen Remodel Lights
Electrical ceiling box remove plastic junction existing light fixture fluorescent kitchen mounting fixtures fine homebuilding how to replace a with fan old