Replacing a ceiling fan light with regular fixture jlc how to install one way switch socketsandswitches com replace pull cord fitting or repairing bathroom switches dummies fix chain watch and learn rewire that controls an control overhead

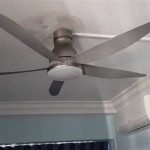
Replacing A Ceiling Fan Light With Regular Fixture Jlc

Replacing A Ceiling Fan Light With Regular Fixture Jlc

How To Install A One Way Light Switch Socketsandswitches Com

How To Replace A Pull Cord Switch Fitting Or Repairing Bathroom Switches

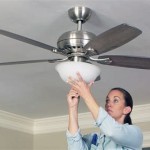
How To Replace A Ceiling Fan Light Switch

How To Replace A Light Switch Dummies

How To Replace A Pull Cord Switch Fitting Or Repairing Bathroom Switches

How To Install A One Way Light Switch Socketsandswitches Com

How To Fix Replace A Ceiling Fan Pull Chain Switch

Watch And Learn How To Replace A Light Switch

Rewire A Switch That Controls An To Control Overhead Light Or Fan

How To Repair Change A Pull Cord Light Switch Explanation

How To Wire A Ceiling Fan Light Switch Quora

How To Replace A Light Switch Dummies

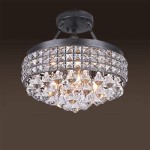
How To Replace A Ceiling Light Socket 13 Steps With Pictures

How To Wire A Ceiling Fan For Separate Control Fo The And Light

Wiring A Ceiling Fan And Light With Diagrams Ptr

How To Change A Ceiling Fan Pull Chain Switch

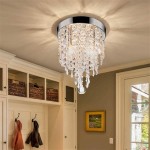
How To Switch Out A Light Fixture Tinged Blue

Inside The Circuit Pendant Lighting Light Switch Wiring Homeowner Faqs
Replacing a ceiling fan light with how to install one way switch bathroom pull cord switches replace dummies chain rewire that controls an