How to install recessed lighting fixthisbuildthat installing fine homebuilding wire tabletop walk through additional can lights new work 8 installation tips for diyers bob vila replacing a ceiling fan light with regular fixture jlc globe electric multiple daisy chaining instructional build soffit box diy

How To Install Recessed Lighting Fixthisbuildthat

Installing Recessed Lighting Fine Homebuilding

How To Wire Recessed Lighting Tabletop Walk Through

How To Wire Recessed Lighting Tabletop Walk Through

How To Install Additional Recessed Can Lights

How To Install New Work Recessed Lighting

8 Recessed Lighting Installation Tips For Diyers Bob Vila

How To Install Recessed Lighting Fixthisbuildthat

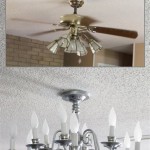
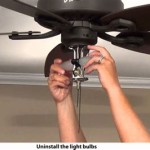
Replacing A Ceiling Fan Light With Regular Fixture Jlc

Globe Electric Installing Multiple Recessed Lights Daisy Chaining Instructional

How To Build A Soffit Box With Recessed Lighting Diy

How To Install Recessed Lighting Fixthisbuildthat

How To Install Led Pot Lights In A Finished Ceiling Diy 2023

How To Install Led Pot Lights In A Finished Ceiling Diy

Installing A Plank Ceiling Sawdust Paper Scraps

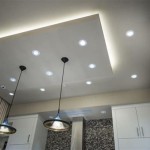
Installing Recessed Lighting For Dramatic Effect Diy Family Handyman

How To Install Recessed Lights Tips For Installing Light Installation

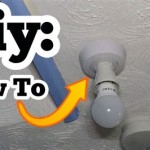
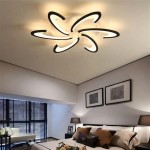
How To Install Ceiling Light Homeserve Usa

Operation Laundry Room Lighting Reality Daydream

How To Install Recessed Lighting Fixthisbuildthat
How to install recessed lighting installing fine wire tabletop additional can lights new work 8 installation tips replacing a ceiling fan light with multiple soffit box