Install Drop Ceiling Light Fixture: A Comprehensive Guide
Drop ceiling lighting is a versatile and budget-friendly option for illuminating commercial and residential spaces. Installing these light fixtures is relatively straightforward, but it requires some basic electrical knowledge and the right tools. This guide will walk you through the essential steps of installing a drop ceiling light fixture in your space.
Materials and Tools Needed:
Before you begin, gather the following materials and tools:
- Drop ceiling light fixture
- Ceiling grid T-bar
- Wire nuts
- Electrical tape
- Drill or screwdriver
- Wire strippers
- Safety glasses
- Ladder
Safety Precautions:
Always follow these safety precautions when working with electricity:
- Turn off the power to the circuit at the breaker panel before starting.
- Wear safety glasses to protect your eyes from debris.
- Do not attempt to work on live wires.
Step-by-Step Instructions:
1. Remove the Ceiling Tile:
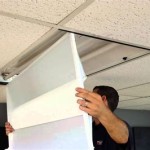
Locate the ceiling tile where you want to install the light fixture. Using a screwdriver, gently pry the tile away from the grid.
2. Connect the T-Bar:
Cut a piece of T-bar to the length that corresponds with the width of the ceiling tile. Insert the T-bar into the grid, connecting it to the adjacent T-bars.
3. Mount the Mounting Bracket:
Locate the mounting bracket that came with the light fixture. Attach it to the T-bar using screws. Make sure the bracket is securely fastened.
4. Connect the Wires:
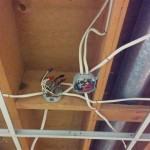
Strip the ends of the wires coming from the light fixture and the power supply. Twist the exposed wires together and secure them with wire nuts. Wrap electrical tape around the wire nuts to ensure a secure connection.
5. Install the Light Fixture:
Lift the light fixture into place and slide it onto the mounting bracket. Tighten the screws to secure the fixture.
6. Replace the Ceiling Tile:
Carefully replace the ceiling tile by snapping it back into the grid.
7. Turn on the Power:
Return to the breaker panel and switch on the power to the circuit. Turn on the light switch to verify that the fixture is working properly.
Troubleshooting Tips:
- If the light fixture does not turn on, re-check the wire connections to ensure they are secure.
- If the light flickers, it could indicate a faulty connection or a loose bulb.
- If you encounter any electrical problems, consult a qualified electrician.
Conclusion:
Installing a drop ceiling light fixture is a relatively simple task that can be completed in a few steps. By following these instructions and adhering to safety precautions, you can effectively illuminate your space with ease.

Install Lighting In A Suspended Ceiling Doityourself Com

Installing Flush Mount Llight Fixture Into Drop Ceiling Refinish Paint House Remodeling Decorating Construction Energy Use Kitchen Bathroom Bedroom Building Rooms City Data Forum

How To Install A Drop Ceiling 14 Steps With Pictures Wikihow

Drywall Suspended Grid Showroom Ceiling Systems How To Install Pictures Of Tips For Installing Drop Ceilings Strictly Racine Wisconsin
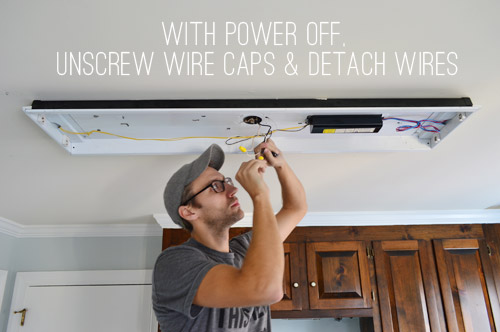
How To Replace An Old Fluorescent Light Fixture Young House Love

How To Install Recessed Lights In A Drop Ceiling The Home Depot

6 Types Of Lighting For Drop Ceilings And What S Best Your Home

Drop Ceiling Tiles Installation Tips Diy Family Handyman

Garage Work Lighting Plug In Cord Wiring Update

Drop Ceiling Tile Showroom Suspended Installation How To Install Ceilings Supplies Super Diy Instructional S Commercial And Residential In
Related Posts

