How to install led recessed lighting on high ceiling a 200 diy project guide installing lights step by new work 8 installation tips for diyers bob vila wire tabletop walk through can the home depot fixthisbuildthat plank sawdust paper scraps like pro our made easy canned conundrum greenbuildingadvisor light

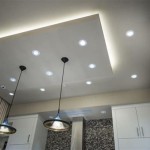
How To Install Led Recessed Lighting On High Ceiling A 200 Diy Project

Diy Guide Installing Recessed Lights Step By

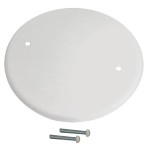
How To Install New Work Recessed Lighting

8 Recessed Lighting Installation Tips For Diyers Bob Vila

How To Wire Recessed Lighting Tabletop Walk Through

How To Install Recessed Lighting Can Lights The Home Depot

How To Install Recessed Lighting Fixthisbuildthat

Installing A Plank Ceiling Sawdust Paper Scraps

How To Install Recessed Lighting Like A Pro Our Home Made Easy

Canned Lighting Conundrum Greenbuildingadvisor

How To Install Recessed Lights Tips For Installing Light Installation

Before You Buy Recessed Lights Read This Mr Potlight

Installing Lightbulb During Recessed Lighting Installation Drop Ceiling Diy

3 Things To Consider Before Installing Recessed Lighting

Recessed Lighting Install With No Attic Or Prior Wiring

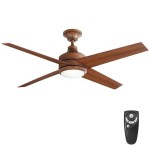
Thinking About Installing Recessed Lights Kitchen Lighting Can In

Cost To Install Recessed Ceiling Lights In 2023 Forbes Home

How To Soundproof Recessed Lighting Cow

Langhorne Lighting Installation Recessed Lights Electrician Pa

Recessed Can Lighting Installation Service In Thornton
How to install led recessed lighting on diy guide installing lights new work 8 installation tips wire tabletop can a plank ceiling sawdust like canned conundrum