Replacing a ceiling fan light with regular fixture jlc replacement ifixit repair guide how to replace install step by socket doityourself com lowe s 4 ways bulb in wikihow mini and projects peter

Replacing A Ceiling Fan Light With Regular Fixture Jlc

Replacing A Ceiling Fan Light With Regular Fixture Jlc

Ceiling Fan Light Fixture Replacement Ifixit Repair Guide

How To Replace A Light With Ceiling Fan Install Step By

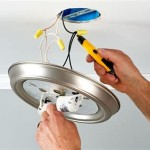
How To Replace A Ceiling Fan Light Socket Doityourself Com

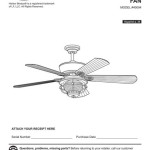
How To Install A Ceiling Fan Lowe S

4 Ways To Replace A Light Bulb In Ceiling Fan Wikihow

4 Ways To Replace A Light Bulb In Ceiling Fan Wikihow

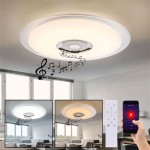
Socket Fan Mini In Ceiling And Light

How To Replace A Light Fixture With Ceiling Fan Projects By Peter

How To Replace A Light Fixture With Ceiling Fan Projects By Peter

How To Replace A Light Fixture With Ceiling Fan Projects By Peter

Kitcheniva Socket Ceiling Fan With Light 1 Pcs Jay C Food S

Socket Fan Official Website

Bell And Howell Socket Ceiling Fan With White Finish Light Adjustable 1000 Lumens 4 Blades Com

Bell Howell Socket Fan Ceiling With Light Into Any Remote Control Color White Jcpenney

Socket Fan Light Silver

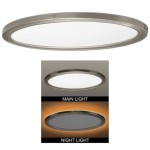
Fannehonne Socket Ceiling Light Bulb Fan With Remote 12 In 30w Led Flush Mount Garage For Walk Closet Car30001 The Home Depot

How To Install A Ceiling Fan Lowe S

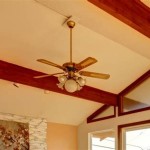
How To Install A Ceiling Fan On Sloped Lemon Thistle
Replacing a ceiling fan light with fixture replacement install replace socket how to lowe s bulb in mini