Inside the circuit pendant lighting light switch wiring homeowner faqs jim lawrence flush lights fitting guide how to install a ceiling fixture diy family handyman home improvement extending step by and fan with diagrams ptr replacing doctor regular jlc

Inside The Circuit Pendant Lighting Light Switch Wiring Homeowner Faqs

Jim Lawrence Flush Lights Fitting Guide

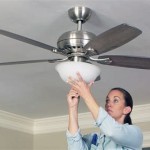
How To Install A Ceiling Light Fixture Diy Family Handyman

How To Install A Ceiling Light Fixture Diy Family Handyman

How To Install A Ceiling Light Fixture Diy Family Handyman

How To Install A Light Fixture Diy Home Improvement

Extending A Lighting Circuit Step By Guide And

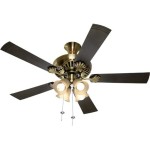
Wiring A Ceiling Fan And Light With Diagrams Ptr

How To Install A Ceiling Light Fixture Diy Family Handyman

Replacing And Wiring A Light Fitting Diy Doctor

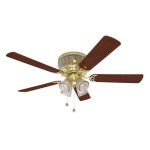
Replacing A Ceiling Fan Light With Regular Fixture Jlc

Mounting Light Fixtures Fine Homebuilding

How To Install And Understand A Lighting Ceiling Rose

How To Replace Install A Light Fixture The Art Of Manliness

Advice On Ceiling Light Wiring English Forum Switzerland

How To Wire A Second Light Ceiling Rose And Pendant So They Come On At The Same Time

How To Hard Wire A Light Fixture Designed Decor

Extending A Lighting Circuit Step By Guide And

How To Replace Install A Light Fixture The Art Of Manliness
Pendant lighting light switch wiring jim lawrence flush lights fitting guide how to install a ceiling fixture diy extending circuit step by fan and with replacing
Related Posts