Ensuring proper ceiling fan installation with vaulted ceilings how to install a on sloped lemon thistle choose for lightology beams installing recessed lighting adapter modern company fans stardust smart choice pin by renee b new house home boise id

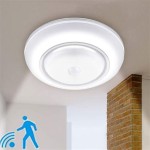
Ensuring Proper Ceiling Fan Installation With Vaulted Ceilings

How To Install A Ceiling Fan On Sloped Lemon Thistle

How To Install A Ceiling Fan On Sloped Lemon Thistle

How To Choose A Ceiling Fan For Vaulted Ceilings Lightology

Vaulted Ceiling Beams Installing Recessed Lighting Fan

Vaulted Sloped Ceiling Adapter For Modern Fan Company Fans Stardust

How To Choose A Ceiling Fan For Vaulted Ceilings Lightology

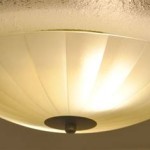
Smart Choice For A Ceiling Fan

Pin By Renee B On New House Ceiling Fan Vaulted Lighting Home

Ceiling Fan Boise Id Installation

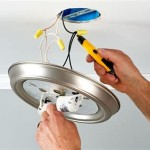
How To Install Vaulted Ceiling Fan

Vaulted Ceiling Fans Sloped Lightology

Vaulted Ceiling Adapter Fan Ideas Makeover

Vaulted Sloped Ceiling Adapter For Modern Fan Company Fans Stardust

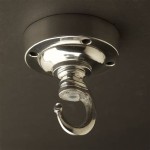
Arlington Fan Fixture Mounting Boxes

How To Install A Ceiling Fan On Sloped Lemon Thistle

Ceiling Fan Guide The Home Depot

Kichler Fan Accessories 4 In White Steel Indoor Angle Mount Capable Ceiling Mounting Hardware The Department At Com

Casablanca Sca P White Sloped Ceiling Adapter For Angles Up To 56 Degrees

How To Find Ceiling Fans Slope Adapters And Downrods For Angled Ceilings Delmarfans Com
Proper ceiling fan installation a on sloped for vaulted ceilings beams installing modern company fans smart choice boise id how to install
Related Posts