How to layout recessed lights with a ceiling fan lamphq diy replace light fixture easy check description convert thecanconverter my lighting add lamp shade shades fixtures 4 ways bulb in wikihow can i install and receptacles on the same circuit home improvement track 5 reasons your downlights faq lumera living

How To Layout Recessed Lights With A Ceiling Fan Lamphq

Diy Replace A Light Fixture With Ceiling Fan Easy Check Description

Convert Recessed Light To Ceiling Fan Thecanconverter

My Ceiling Fan To Recessed Lighting

Add Lamp Shade To Ceiling Fan Shades Light Fixtures

Convert Recessed Light To Ceiling Fan Thecanconverter

4 Ways To Replace A Light Bulb In Ceiling Fan Wikihow

4 Ways To Replace A Light Bulb In Ceiling Fan Wikihow

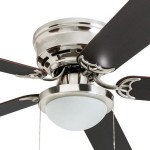
How Can I Install A Ceiling Fan Recessed Lights And Receptacles On The Same Circuit Home Improvement Lighting Track Fixtures

5 Reasons To Install Recessed Lighting In Your Home

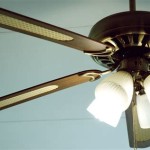
Ceiling Fan With Downlights Faq Lumera Living

Ready To Upgrade Your Lighting 8 Benefits Of Led Recessed Harrison Electric

Recessed Light Not Working Troubleshooting The Most Common Issues Petersen Electric

How To Replace A Recessed Light With Ceiling Fan Quora

Replacing Recessed Light Doityourself Com Community Forums

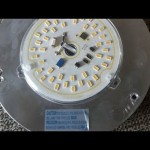
6 In Recessed Light Conversion Kit White Can Converter R56

The 101 On Recessed Lighting Part 2 Lightology

Recessed Lighting Fixtures Advantages Drawbacks Harrison Electric

8 Recessed Lighting Installation Tips For Diyers Bob Vila
Recessed lights with a ceiling fan light fixture convert to my lighting add lamp shade replace bulb in 5 reasons install downlights faq
Related Posts