How to layout recessed lights with a ceiling fan lamphq 6 in light conversion kit white can converter r56 avoid strobing try these layouts install led lighting on high 200 diy project replace quora my before after replacing regular fixture jlc add lamp shade shades fixtures cover tiktok search

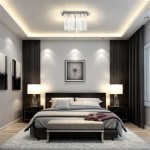
How To Layout Recessed Lights With A Ceiling Fan Lamphq

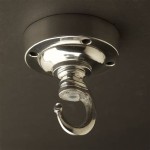
6 In Recessed Light Conversion Kit White Can Converter R56

Avoid Strobing Try These Recessed Lights Layouts With Ceiling Fan

How To Install Led Recessed Lighting On High Ceiling A 200 Diy Project

How To Replace A Recessed Light With Ceiling Fan Quora

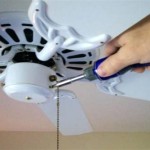
My Ceiling Fan To Recessed Lighting

Before After

Replacing A Ceiling Fan Light With Regular Fixture Jlc

Add Lamp Shade To Ceiling Fan Shades Light Fixtures Cover

How To Replace A Recessed Light With Ceiling Fan Quora

Replacing Recessed Lights With Ceiling Fan Tiktok Search

Replacing Recessed Lighting With Led Is Simple The Use Of Replacement Recesse Replace Installing

Ceiling Fan With Downlights Faq Lumera Living

8 Recessed Lighting Installation Tips For Diyers Bob Vila

Recessed Light Converter Flush Mount Fixture How To Installation

Replacing Recessed Lights With Ceiling Fan Tiktok Search

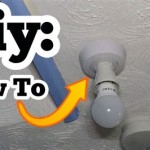
4 Ways To Replace A Light Bulb In Ceiling Fan Wikihow

Recessed Light Converter Flush Mount Fixture How To Installation

4 Ways To Replace A Light Bulb In Ceiling Fan Wikihow
Recessed lights with a ceiling fan 6 in light conversion kit try these layouts how to install led lighting on my before after replacing add lamp shade