How to install a one way light switch socketsandswitches com electrical and electronics engineering wiring diagrams for lights with fans ceiling fan diagram loop pin by alexandre mériguet on house electrics fittings ptr single lighting wire control using dimmer

How To Install A One Way Light Switch Socketsandswitches Com

How To Install A One Way Light Switch Socketsandswitches Com

Electrical And Electronics Engineering Wiring Diagrams For Lights With Fans One Switch Ceiling Fan Light

Ceiling Fan Wiring Diagram Switch Loop Light

Light Switch Wiring Diagrams

Pin By Alexandre Mériguet On House Electrics Light Switch Wiring Fittings

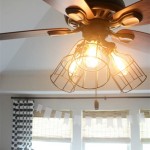
Wiring A Ceiling Fan And Light With Diagrams Ptr

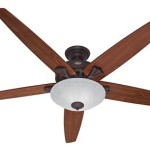
Ceiling Fan Wiring Diagram Single Switch

Electrics Single Way Lighting

How To Wire A Ceiling Fan Control Using Dimmer Switch

Ceiling Fan Wiring Diagram With Light Dimmer

Wiring A Ceiling Fan And Light With Diagrams Ptr

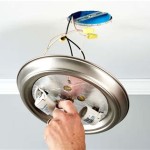
Inside The Circuit Pendant Lighting Light Switch Wiring Homeowner Faqs

How To Replace A Pull Cord Switch Fitting Or Repairing Bathroom Switches

How To Make Bathroom Light In Exhaust Fan Wiring Diagram Connection

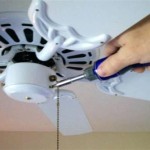
Wiring A Ceiling Fan Light Part 2

Exhaust Fan Wiring Diagram Timer Switch Ceiling Bathroom

Ceiling Fan Wiring Diagram Power Into Light Dual Switch

Ot Electricians Help Me Wire My Ceiling Fan Switch Diagram Inside Nasioc
How to install a one way light switch ceiling fan wiring diagram loop diagrams and with single electrics lighting wire control