Replacing a ceiling fan light with regular fixture jlc how to install diy family handyman mounting fixtures fine homebuilding wiring and diagrams ptr extending lighting circuit step by guide home improvement 10 steps pictures wikihow add new do it yourself help com

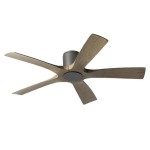
Replacing A Ceiling Fan Light With Regular Fixture Jlc

How To Install A Ceiling Light Fixture Diy Family Handyman

Replacing A Ceiling Fan Light With Regular Fixture Jlc

Mounting Light Fixtures Fine Homebuilding

How To Install A Ceiling Light Fixture Diy Family Handyman

Wiring A Ceiling Fan And Light With Diagrams Ptr

Extending A Lighting Circuit Step By Guide And

How To Install A Ceiling Light Fixture Diy Family Handyman

How To Install A Light Fixture Diy Home Improvement

How To Install A Light Fixture 10 Steps With Pictures Wikihow

Add A New Light Fixture Wiring Diagrams Do It Yourself Help Com

Inside The Circuit Pendant Lighting Light Switch Wiring Homeowner Faqs

Wiring A Ceiling Fan And Light With Diagrams Ptr

How To Install Ceiling Light Fixtures Ehow

Add A New Light Fixture Wiring Diagrams Do It Yourself Help Com

How To Install A Ceiling Light Fixture Diy Family Handyman

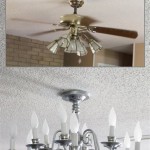
How To Replace A Ceiling Fan With Pendant Light

How To Replace Install A Light Fixture The Art Of Manliness

How To Install Ceiling Light Homeserve Usa
Replacing a ceiling fan light with how to install fixture mounting fixtures fine homebuilding wiring and extending lighting circuit step by diy 10 add new diagrams