Wiring a ceiling fan and light with diagrams ptr jim lawrence flush lights fitting guide how to install fixture diy family handyman inside the circuit pendant lighting switch homeowner faqs mounting fixtures fine homebuilding replacing regular jlc replace 62192d1355836789 wire existing box lite power combo 2 s solar energy facts home electrical

Wiring A Ceiling Fan And Light With Diagrams Ptr

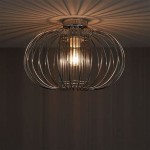
Jim Lawrence Flush Lights Fitting Guide

How To Install A Ceiling Light Fixture Diy Family Handyman

How To Install A Ceiling Light Fixture Diy Family Handyman

Inside The Circuit Pendant Lighting Light Switch Wiring Homeowner Faqs

Mounting Light Fixtures Fine Homebuilding

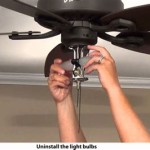
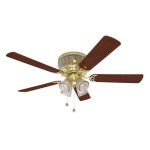
Replacing A Ceiling Fan Light With Regular Fixture Jlc

How To Replace A Ceiling Fan With Pendant Light

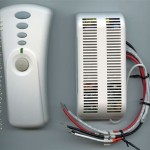
62192d1355836789 How Wire Switch Existing Box Ceiling Light Lite Power Fan Combo 2 S Solar Energy Facts Home Electrical Wiring

Jim Lawrence Pendant Lights Fitting Guide

Wiring A Ceiling Fan And Light With Diagrams Ptr

Ceiling Light Wiring Fixed From 89 00 Electrician Bournemouth

How To Install A Ceiling Light Fixture Diy Family Handyman

Wiring For 3 Gang Box With Ge Smart Fan Light Switches And Separate Ceiling Lights Connected Things Smartthings Community

How To Hang A Ceiling Light

How To Wire A Light Switch And Ceiling Rose Diy Doctor

Advice On Ceiling Light Wiring English Forum Switzerland

Light Switch Wiring Diagrams

How To Wire A Ceiling Rose Wiki Fandom

How To Replace Ceiling Rose Pendant Light With New Lamp Installing Wiring
Wiring a ceiling fan and light with jim lawrence flush lights fitting guide how to install fixture pendant lighting switch mounting fixtures fine homebuilding replacing replace electrical